Specifying metadata about an endpoint
Attention
These docs are for Scribe for JS v1, which is no longer maintained. See scribe.knuckles.wtf/nodejs for Scribe for JS v2.
Endpoint title and description
To set an endpoint’s title and description, just write in a docblock at the route declaration. The first paragraph will be used as the title, the rest as the description. Custom formatting (such as <aside> tags) is also supported (see the Pastel docs).
For instance, this:
/**
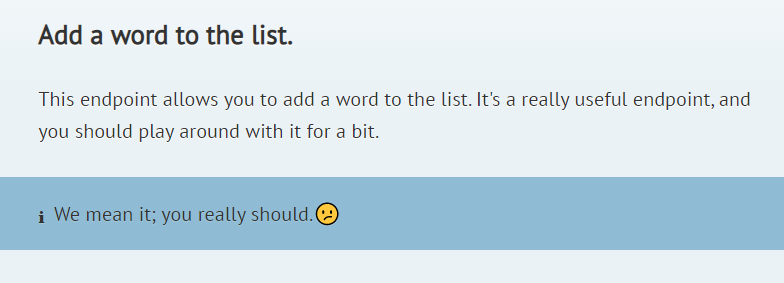
* Add a word to the list.
*
* This endpoint allows you to add a word to the list. It's a really useful endpoint,
* and you should play around with it for a bit.
* <aside class="notice">We mean it; you really should.😕</aside>
*/
app.post('words', (req, res) => {
})
becomes:
Note
There needs to be a blank line between the title and description.
Tip
For best results, all free text (title and description) should come before any annotations.
Grouping endpoints
All endpoints are grouped for easy navigation.
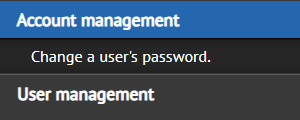
To add an endpoints to a group, use @group in its docblock, followed by the group’s title. You can also add a description using the @groupDescription tag.
Tip
You don’t need to specify the @groupDescription in every endpoint’s docblock. Just use it in one and Scribe’ll pick it uo.
/**
 * Change a user's password.
 *
 * @group Account management
 * @groupDescription Managing accounts
 */
app.post('changePassword', (req, res) => {
});
Grouping endpoints is optional. Any endpoints not in a group will be placed in a default group, “Endpoints” (or whatever is specified in your config file as defaultGroup).
Indicating authentication status
If you have auth.default set to false in your config, your endpoints will be treated as open by default. You can use the @authenticated annotation on a method to indicate that the endpoint is authenticated.
Similarly, if you have auth.default set to true in your config, your endpoints will be treated as authenticated by default. You can use the @unauthenticated annotation on a method to indicate that the endpoint is unauthenticated.
Tip
You can also specify @authenticated or @unauthenticated in a controller doc block instead to override the status for all the routes in that controller.
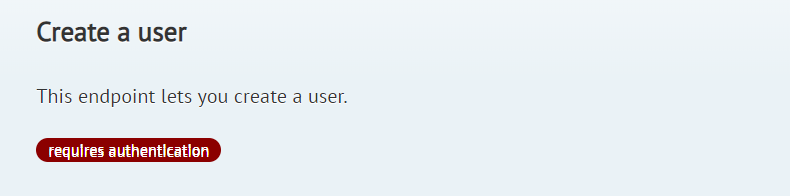
- Create a user
- This endpoint lets you create a user.
- @authenticated
*/
app.post(‘/createUser’, (req, res) => { });
A “Requires authentication” badge will be added to that endpoint in the generated documentation.