Documenting responses from an endpoint
Attention
These docs are for Scribe for JS v1, which is no longer maintained. See scribe.knuckles.wtf/nodejs for Scribe for JS v2.
It’s helpful if your API’s consumers can see what a response should be like before writing any code. There are multiple strategies to provide example responses for your endpoint:
- describing the response using the
@responsetag - specifying a file containing the response using the
@responseFiletag - letting Scribe generate the response by making a “response call”
You can use all of these strategies within the same endpoint. Scribe will display all the responses it finds.
@response
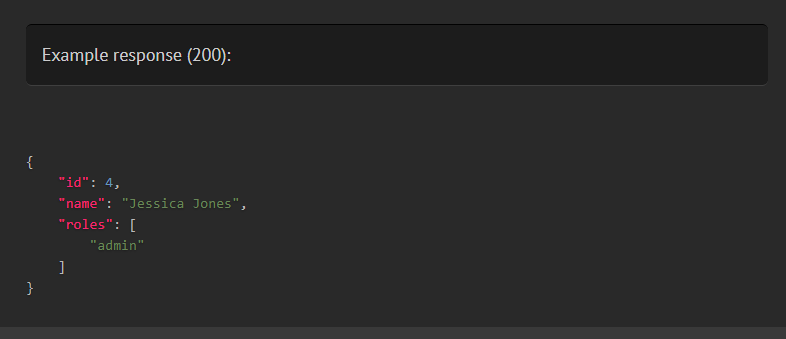
You can provide an example response for an endpoint by using the @response annotation with valid JSON:
/**
 * @response {
 *  "id": 4,
 *  "name": "Jessica Jones",
 *  "roles": ["admin"]
 * }
 */
app.get('users/:id', async (req, res) => {
    return res.json(await User.find(req.body.id));
});
You can also specify a status code (otherwise 200 will be assumed):
/**
 * @response 201 {
 *  "id": 4,
 *  "name": "Jessica Jones"
 * }
 */
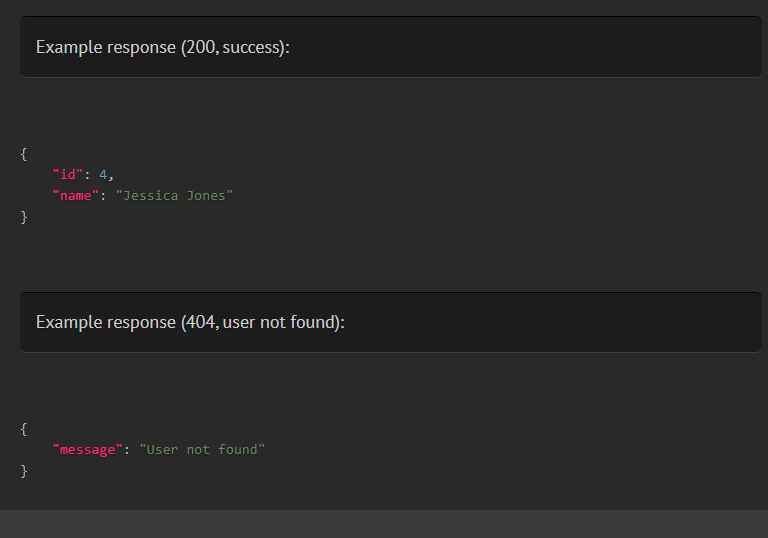
You can define multiple possible responses from the same endpoint using @response. To distinguish these responses, you can use the status and scenario attributes. [coming soon]
/**
 * @response scenario=success {
 *  "id": 4,
 *  "name": "Jessica Jones"
 * }
 * @response status=404 scenario="user not found" {
 *  "message": "User not found"
 * }
 */
To indicate a binary response, use <<binary>> as the value of the response, followed by a description.
/**
 * @response <<binary>> The resized image
 */
@responseFile
@responseFile works similarly to @response, but instead of inlining the response, you pass a file containing your JSON response. This can be helpful if your response body is large.
To use @responseFile, place the response as a JSON string in a file somewhere within your project and specify the path to it, relative to your project root. For instance, we can put this response in a file named users.get.json in <project>/docs/responses/:
{"id":4,"name":"Jessica Jones"}
Then at the route declaration:
/**
 * @responseFile docs/responses/users.get.json
 */
app.get('users/:id', (req, res) => {
});
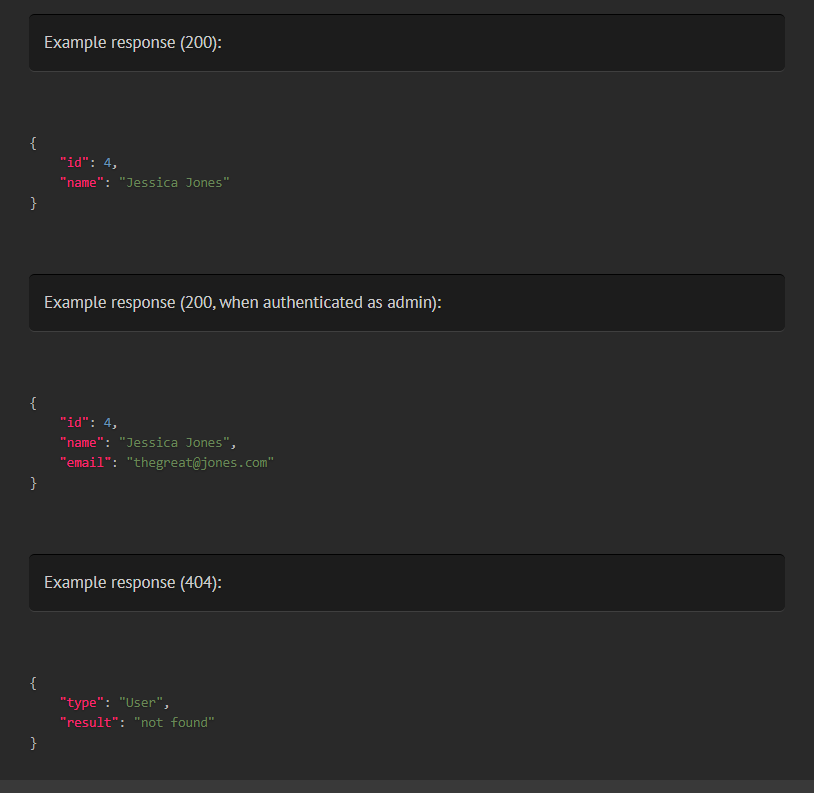
You can also have multiple @responseFile tags on a single method, distinguished by status code and/or scenarios.
/**
 * @responseFile responses/users.get.json
 * @responseFile status=200 scenario="when authenticated as admin" responses/user.get.admin.json
 * @responseFile status=404 responses/model.not.found.json
 */
@responseFile also allows you to overwrite parts of the response from the file with some data of your own. To do this, add the JSON you want to merge after the file path. For instance, supposing our generic “not found” response located in docs/responses/model.not.found.json says:
{
  "type": "Model",
  "result": "not found"
}
We can change the type to User on the fly like this:
/**
 * @responseFile responses/users.get.json
 * @responseFile status=200 scenario="When authenticated as admin" docs/responses/user.get.admin.json
 * @responseFile status=404 docs/responses/model.not.found.json {"type": "User"}
 */
This JSON string will be parsed and merged with the response from the file.
Generating responses automatically via response calls
If you don’t specify an example response using any of the other means described in this document, Scribe will attempt to get a sample response by making a HTTP request to the local endpoint (known as a “response call”).
Important
By default, Scribe will only attempt response calls for GET routes, so no data should be persisted to your datbase. Still, make sure you aren’t connected to your live database when running generate!
The configuration for response calls is located in the apply.responseCalls section for each route group in .scribe.config.js. This means that you can apply different settings for different sets of routes. Here are some important things to note:
- The
baseUrlis the URL Scribe will make requests to. Set this tohttp://localhost:<your-port>, where<your-portis the port you run your API on in localhost. - By default, response calls are only made for
GETroutes, but you can configure this by setting theresponseCalls.methodskey to an array of methods (e.g.['GET', 'PUT']). Set it to['*']to mean all methods. Leave it as an empty array to turn off response calls for that route group. - You can also modify the environment variables directly by adding a :code:
.env.docsfile or using theenvkey. Scribe will load these env variables after starting your server, but before beginning response calls. - By default, the package will generate dummy values for your documented query, body and file parameters and send in the request. If you specified example values using
@bodyParamor@queryParam, those will be used instead. You can configure additional parameters or overwrite the existing ones for the request in theresponseCalls.queryParams,responseCalls.bodyParams, andresponseCalls.fileParamssections. For file parameters, each value should be a valid path (absolute or relative to the project directory) to a file on the machine.
Note
If you specified No-example for a parameter earlier, it won’t be included when making a response call.
Note
Unlike the other approaches described in this document, the ResponseCalls strategy will only attempt to fetch a response if there are no responses with a status code of 2xx already.
Adding descriptions for fields in the responses
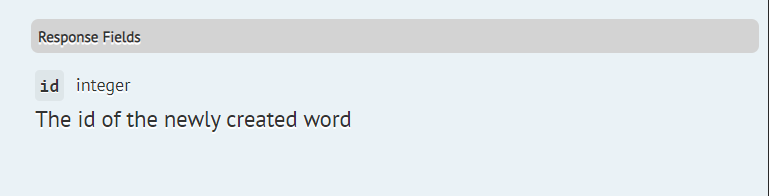
You can add descriptions for fields in your response by adding a @responseField annotation to your route declaration.
/**
 * @responseField id The id of the newly created word
 */
Scribe figures out the type of the field from the 2xx responses for that endpoint.
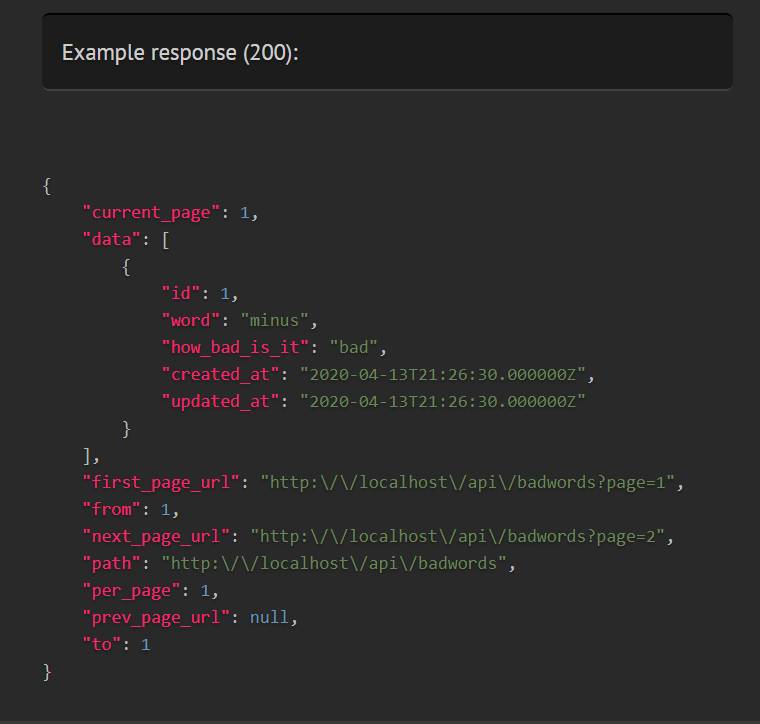
Tip
You don’t need to specify the full field path if the field is inside an array of objects or wrapped in pagination data. For instance, the above annotation will work fine for all of these responses:
{ "id": 3 }
[
  { "id": 3 }
]
{
   "data": [
     { "id": 3 }
   ]
}
If you wish, you can also specify the type of the field:
/**
 * @responseField {integer} id The id of the newly created word
 */